 ( 368 ) 3-June-2013
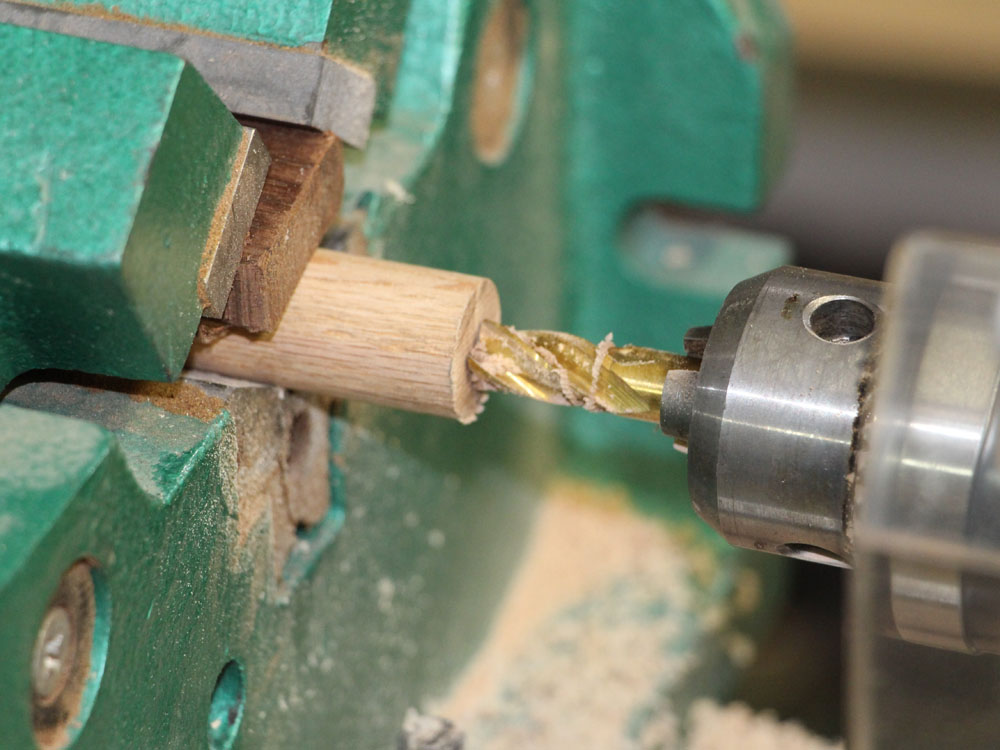
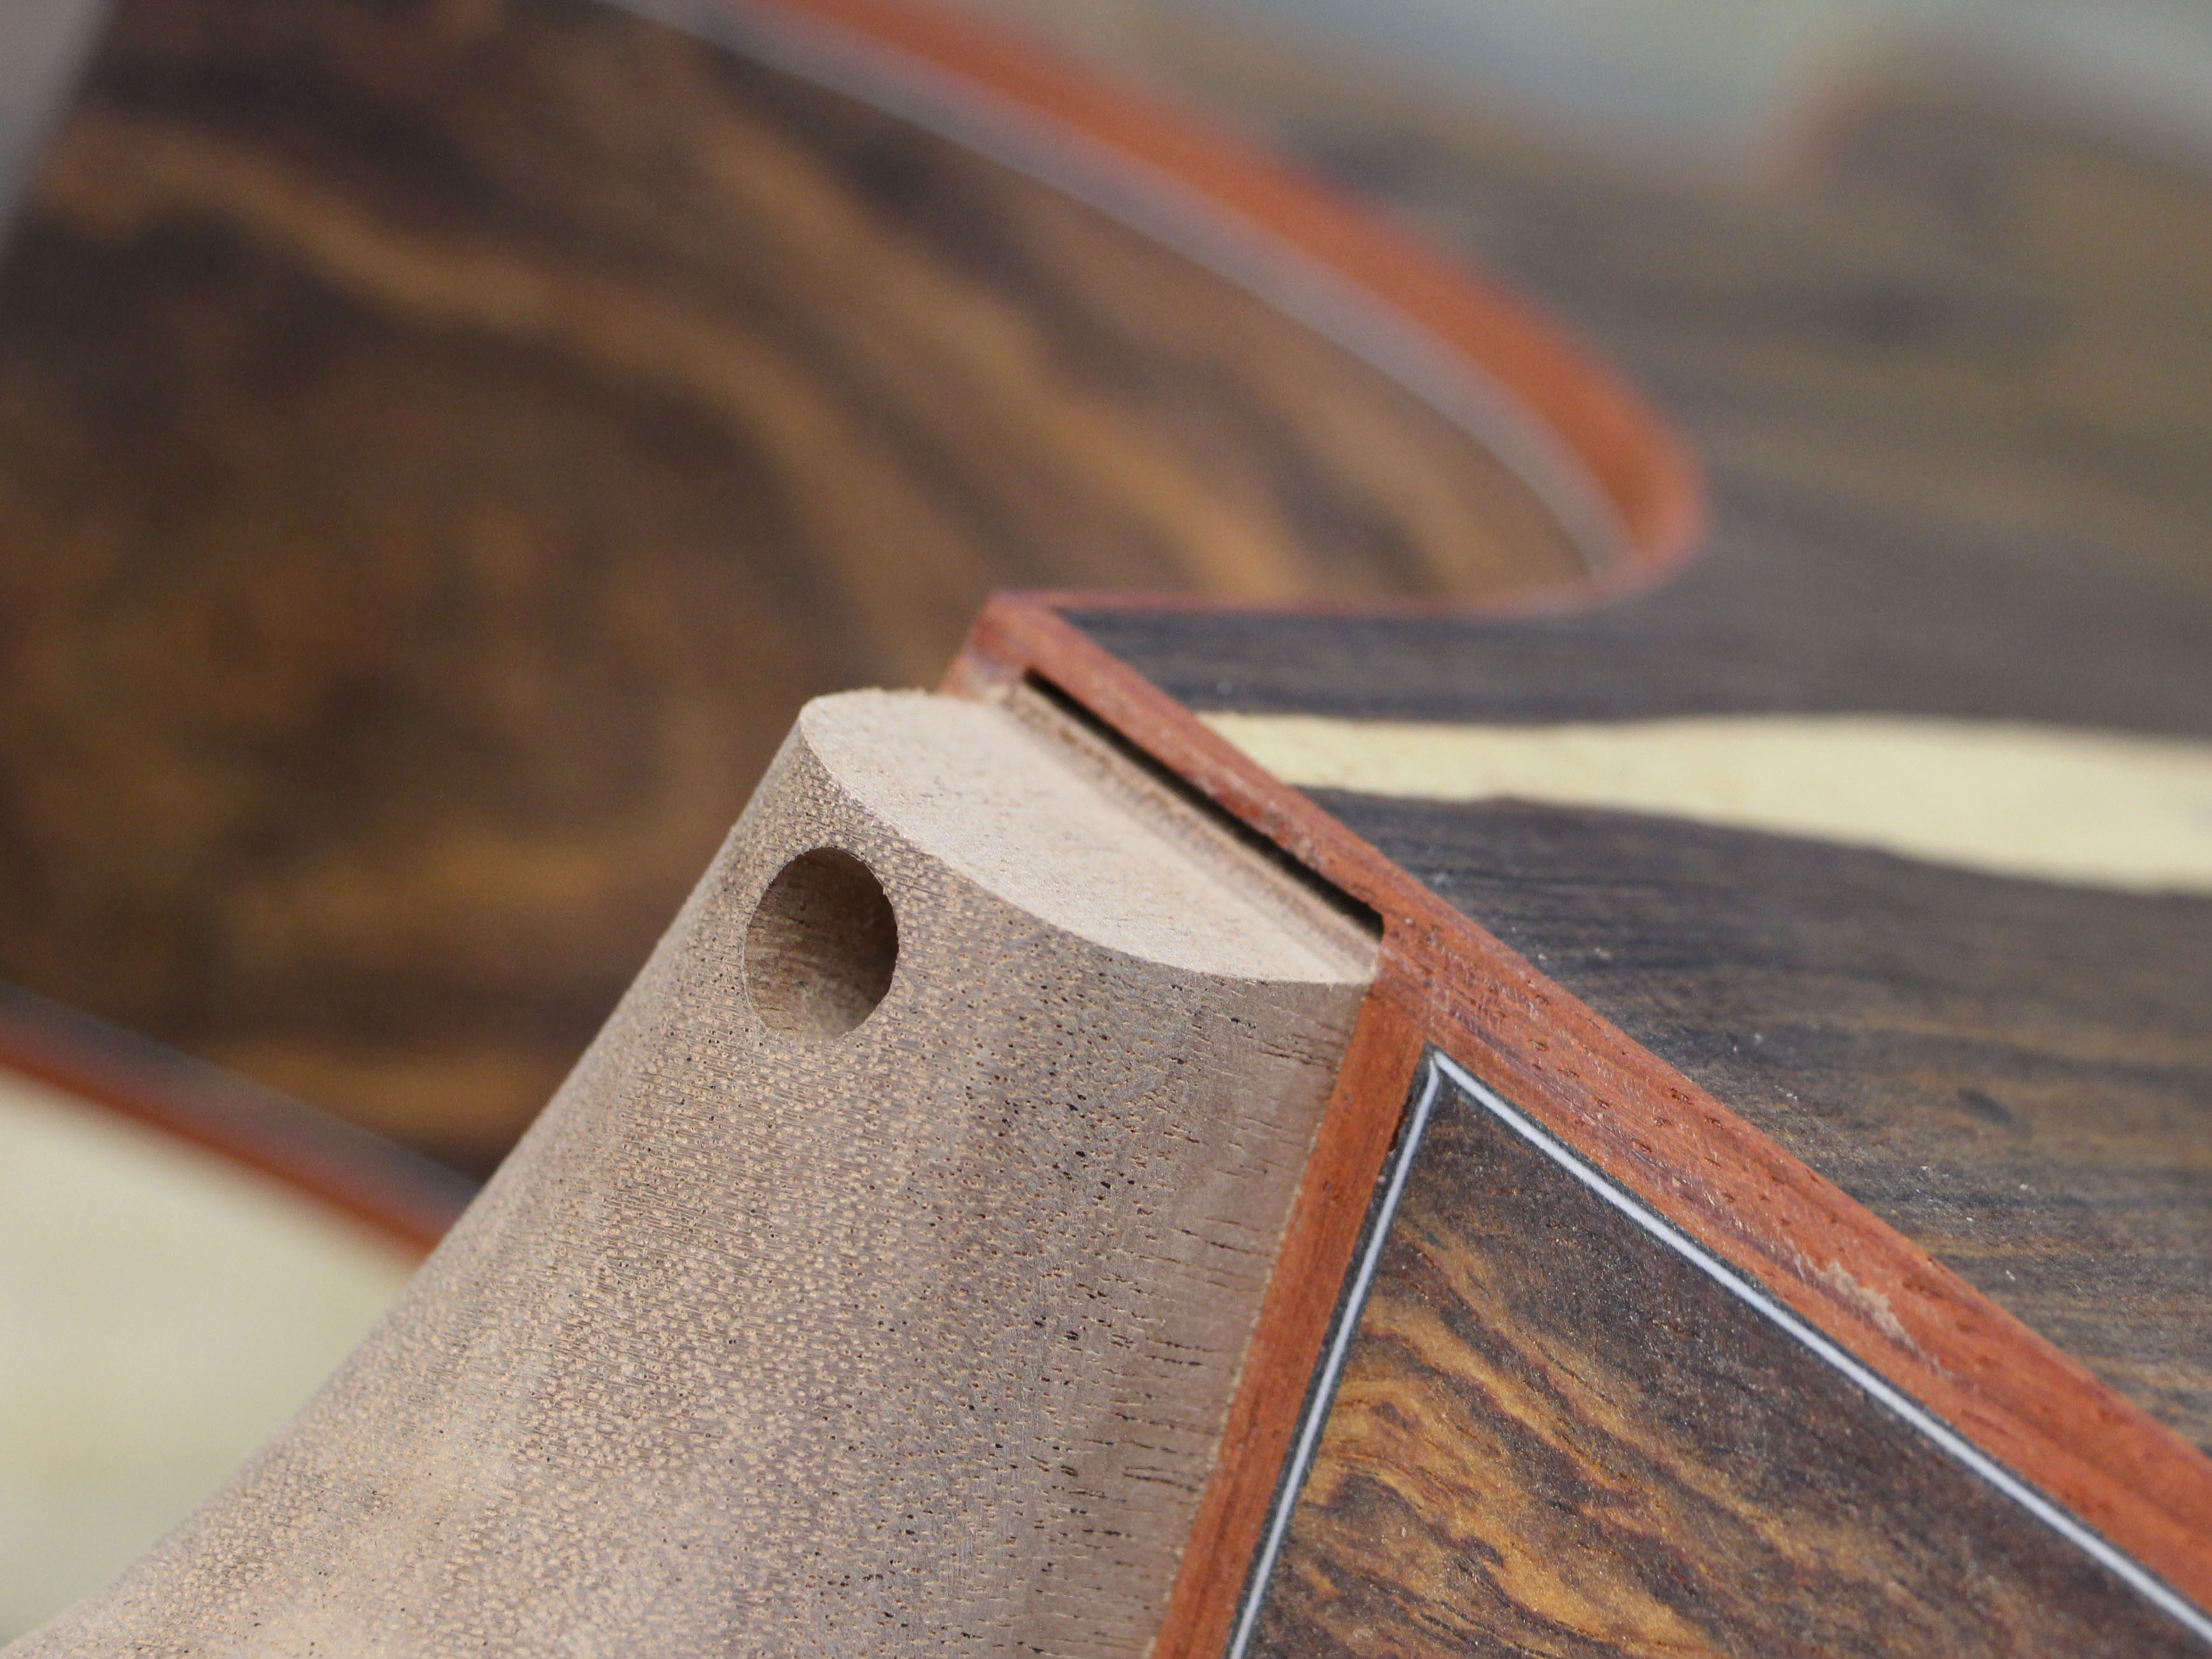
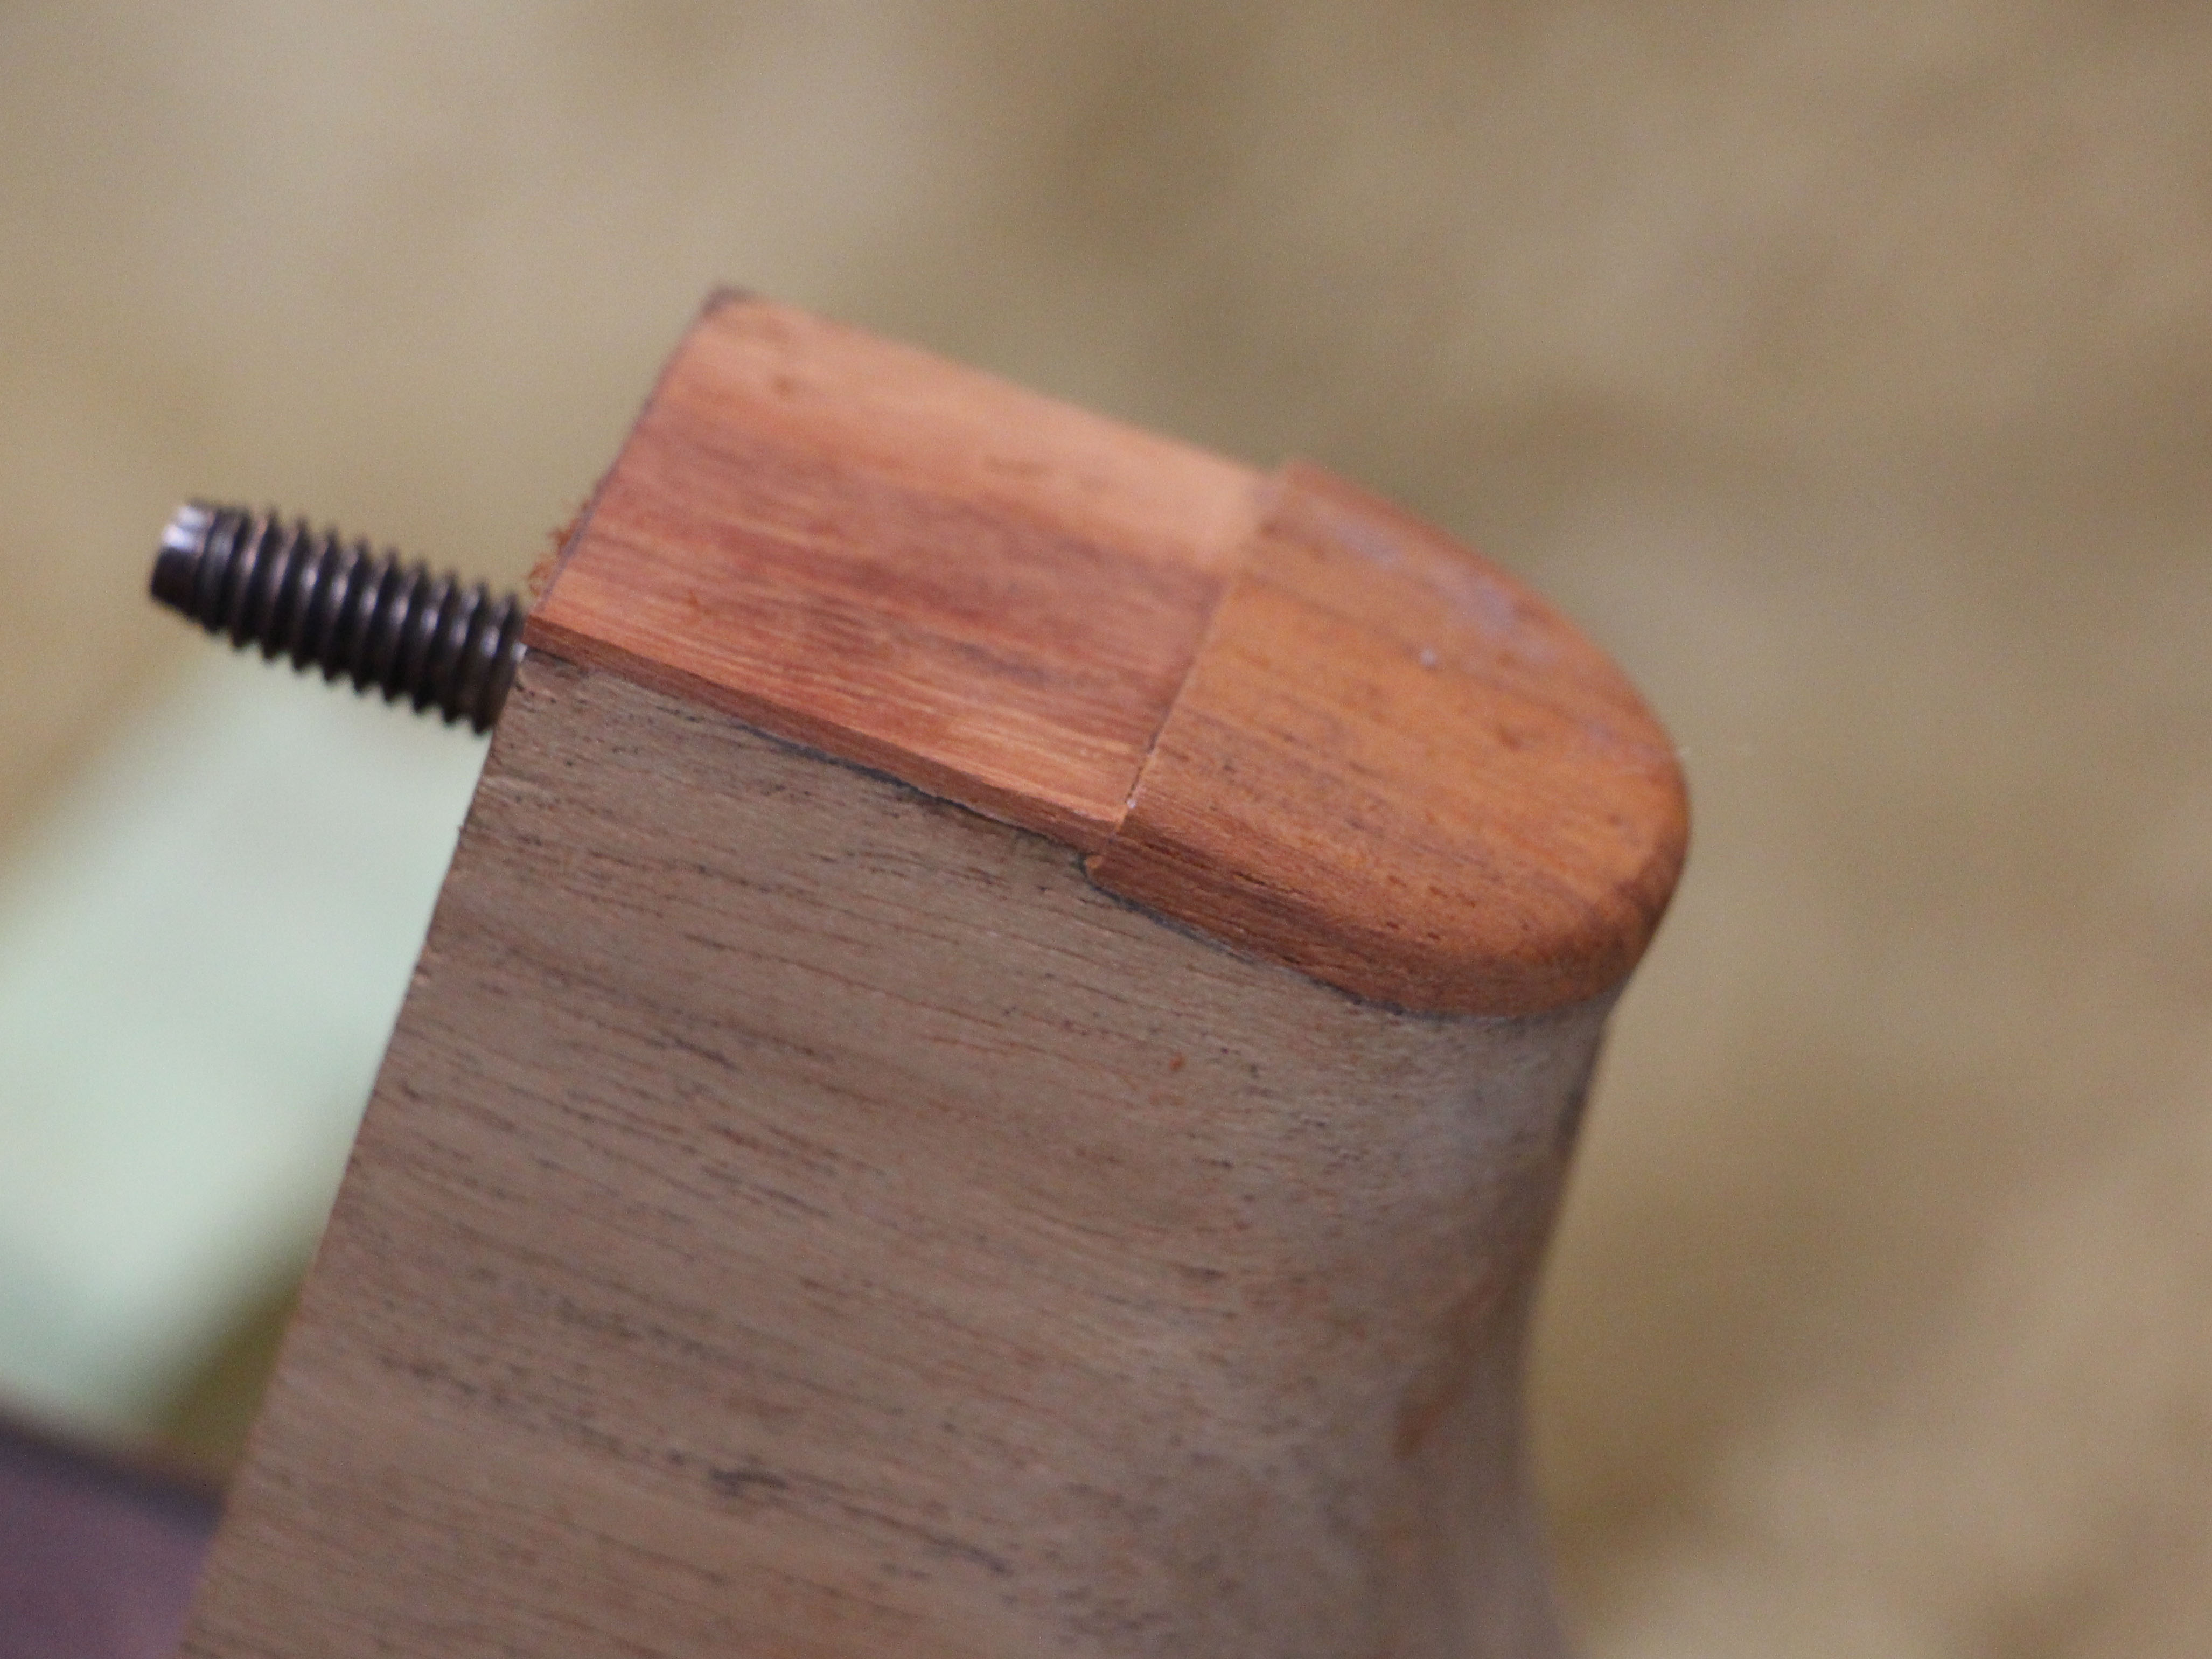
In this picture I am making the flange that holds the neck adjustment bolt in the heel of the neck. I used the milling machine to accurately drill a hole in the middle of the oak dowel.
Cocobolo Body 15 inch lower bout
Adirondack Spruce Top
Lion Theme Marquetry
Mahogany Neck
Ebony Fretboard
Gold Frets & Gotoh Tuners
Padauk
Binding
25.4 Inch Scale Length
( 368 ) 3-June-2013
In this picture I am making the flange that holds the neck adjustment bolt in the heel of the neck. I used the milling machine to accurately drill a hole in the middle of the oak dowel.
 ( 369 ) 3-June-2013
Since I had everything set up and dialed in I decided to make a bunch of them.
 ( 370 ) 3-June-2013
Here is the layout of the adjustment hardware. The compression o-ring ensures that there will be no slop in the setup.
 ( 371 ) 3-June-2013
A bit of glue goes on the flange.
 ( 372 ) 3-June-2013
And with all of the parts in place I press the flange into the heel.
 ( 373 ) 3-June-2013
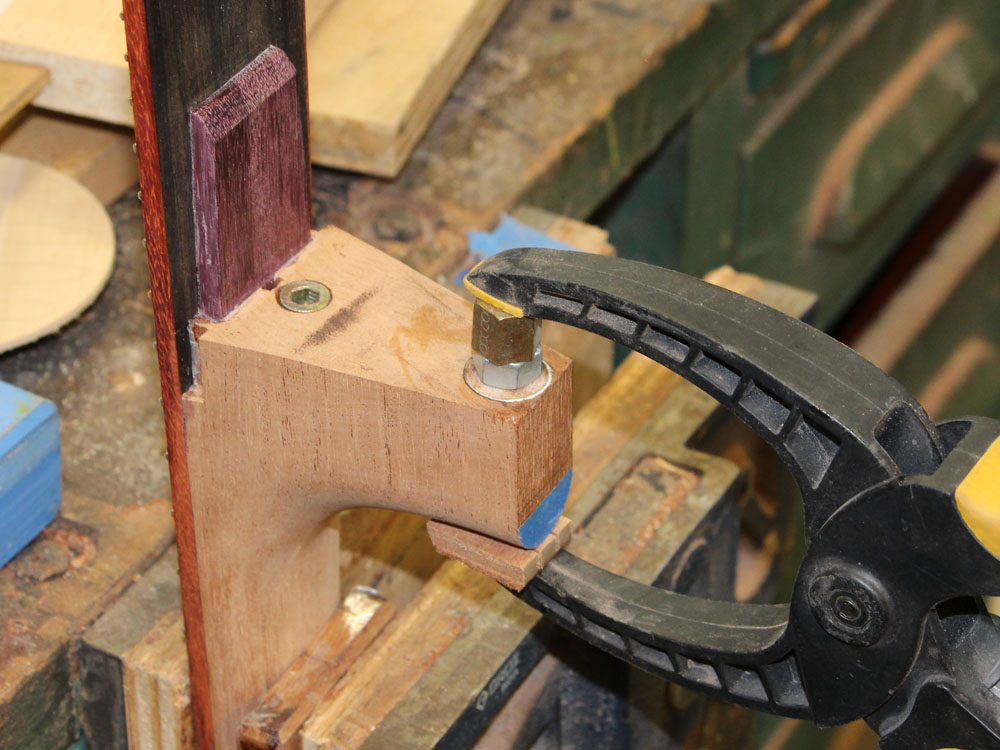
There will be a lot of tension on the flange (it balances the tension of the strings) so I install a set of pins to prevent it from moving. Here I am lining up the drill bit so it will pass through the edge of the flange.
 ( 374 ) 3-June-2013
Two holes.
 ( 375 ) 3-June-2013
And a dowel is pressed into place.
 ( 376 ) 3-June-2013
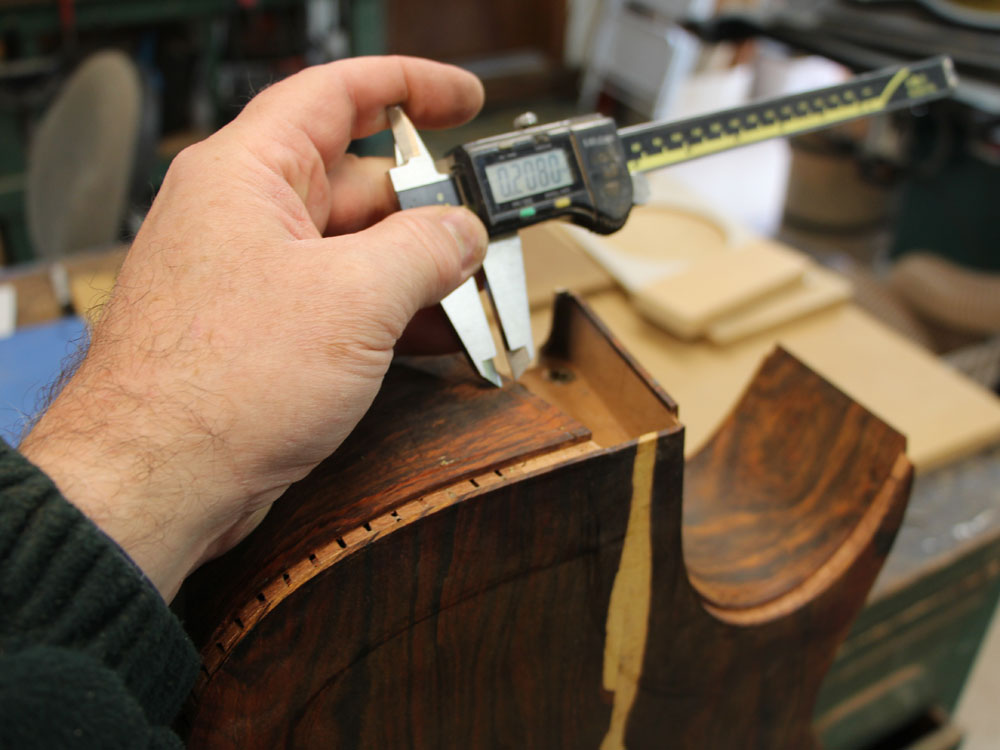
Now with the neck hardware in place I can mount the neck and and use a couple of shims to center the neck in the heel channel.
 ( 377 ) 3-June-2013
Now I can measure the width of the heel binding channel.
 ( 378 ) 3-June-2013
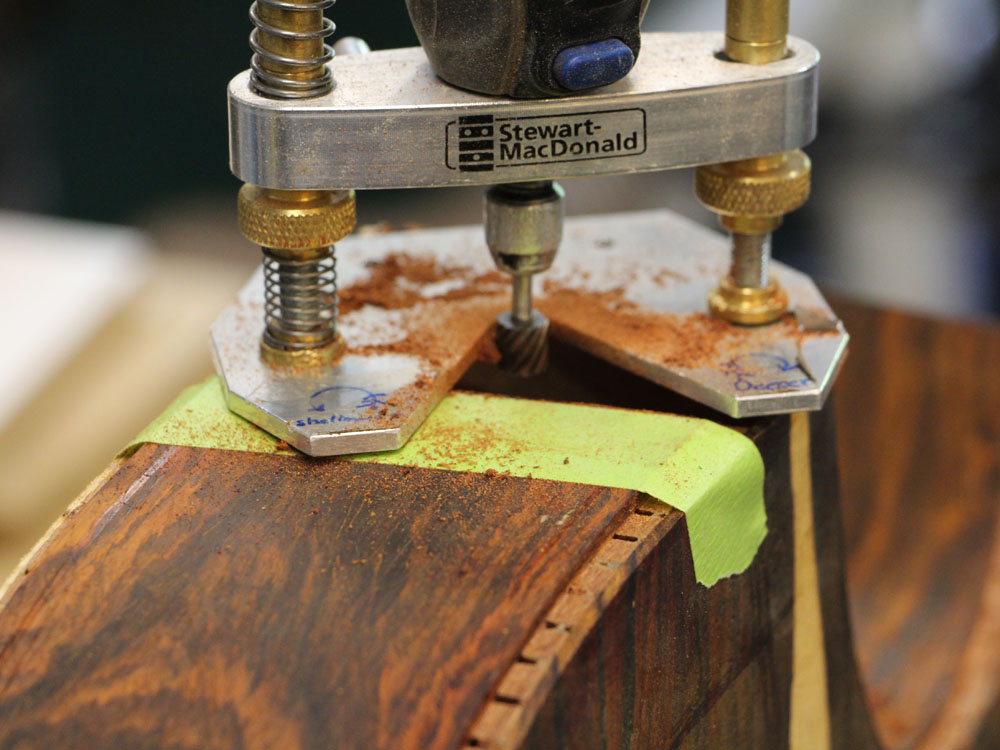
I use the Dremel router to rout the channel for the heel binding.
 ( 379 ) 3-June-2013
 ( 380 ) 3-June-2013
And here I am routing the binding channel for the cutaway side.
 ( 381 ) 3-June-2013
 ( 382 ) 3-June-2013
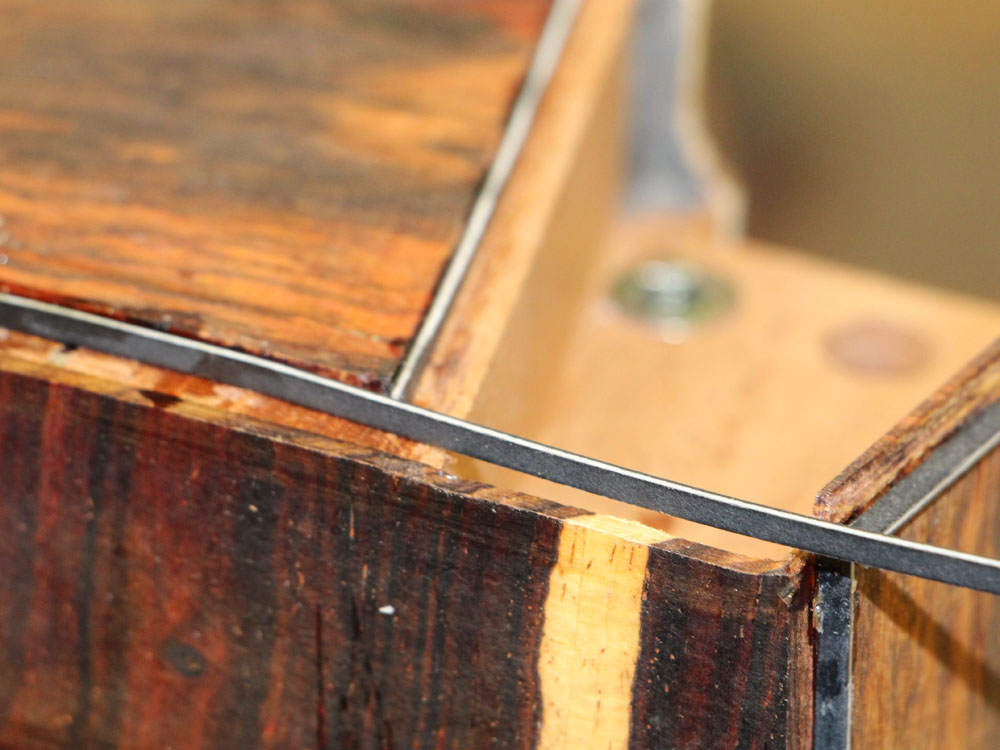
Now I start to install the purfling and binding. I start with the b/w/b pin striping. I prefer to install each piece individually to make sure each one is propoerly seated before te next piece is installed.
 ( 383 ) 3-June-2013
 ( 384 ) 3-June-2013
I am careful to make sure each piece lies flat as it follows the contour of the channels.
 ( 385 ) 3-June-2013
I work my way around the body using thin CA glue to glue down the pin striping.
 ( 386 ) 3-June-2013
Next comes the rope purfling on the top.
 ( 387 ) 3-June-2013
The rope purfling matches the rosette.
 ( 388 ) 3-June-2013
The bottom side gets the same treatment as the top.
 ( 389 ) 3-June-2013
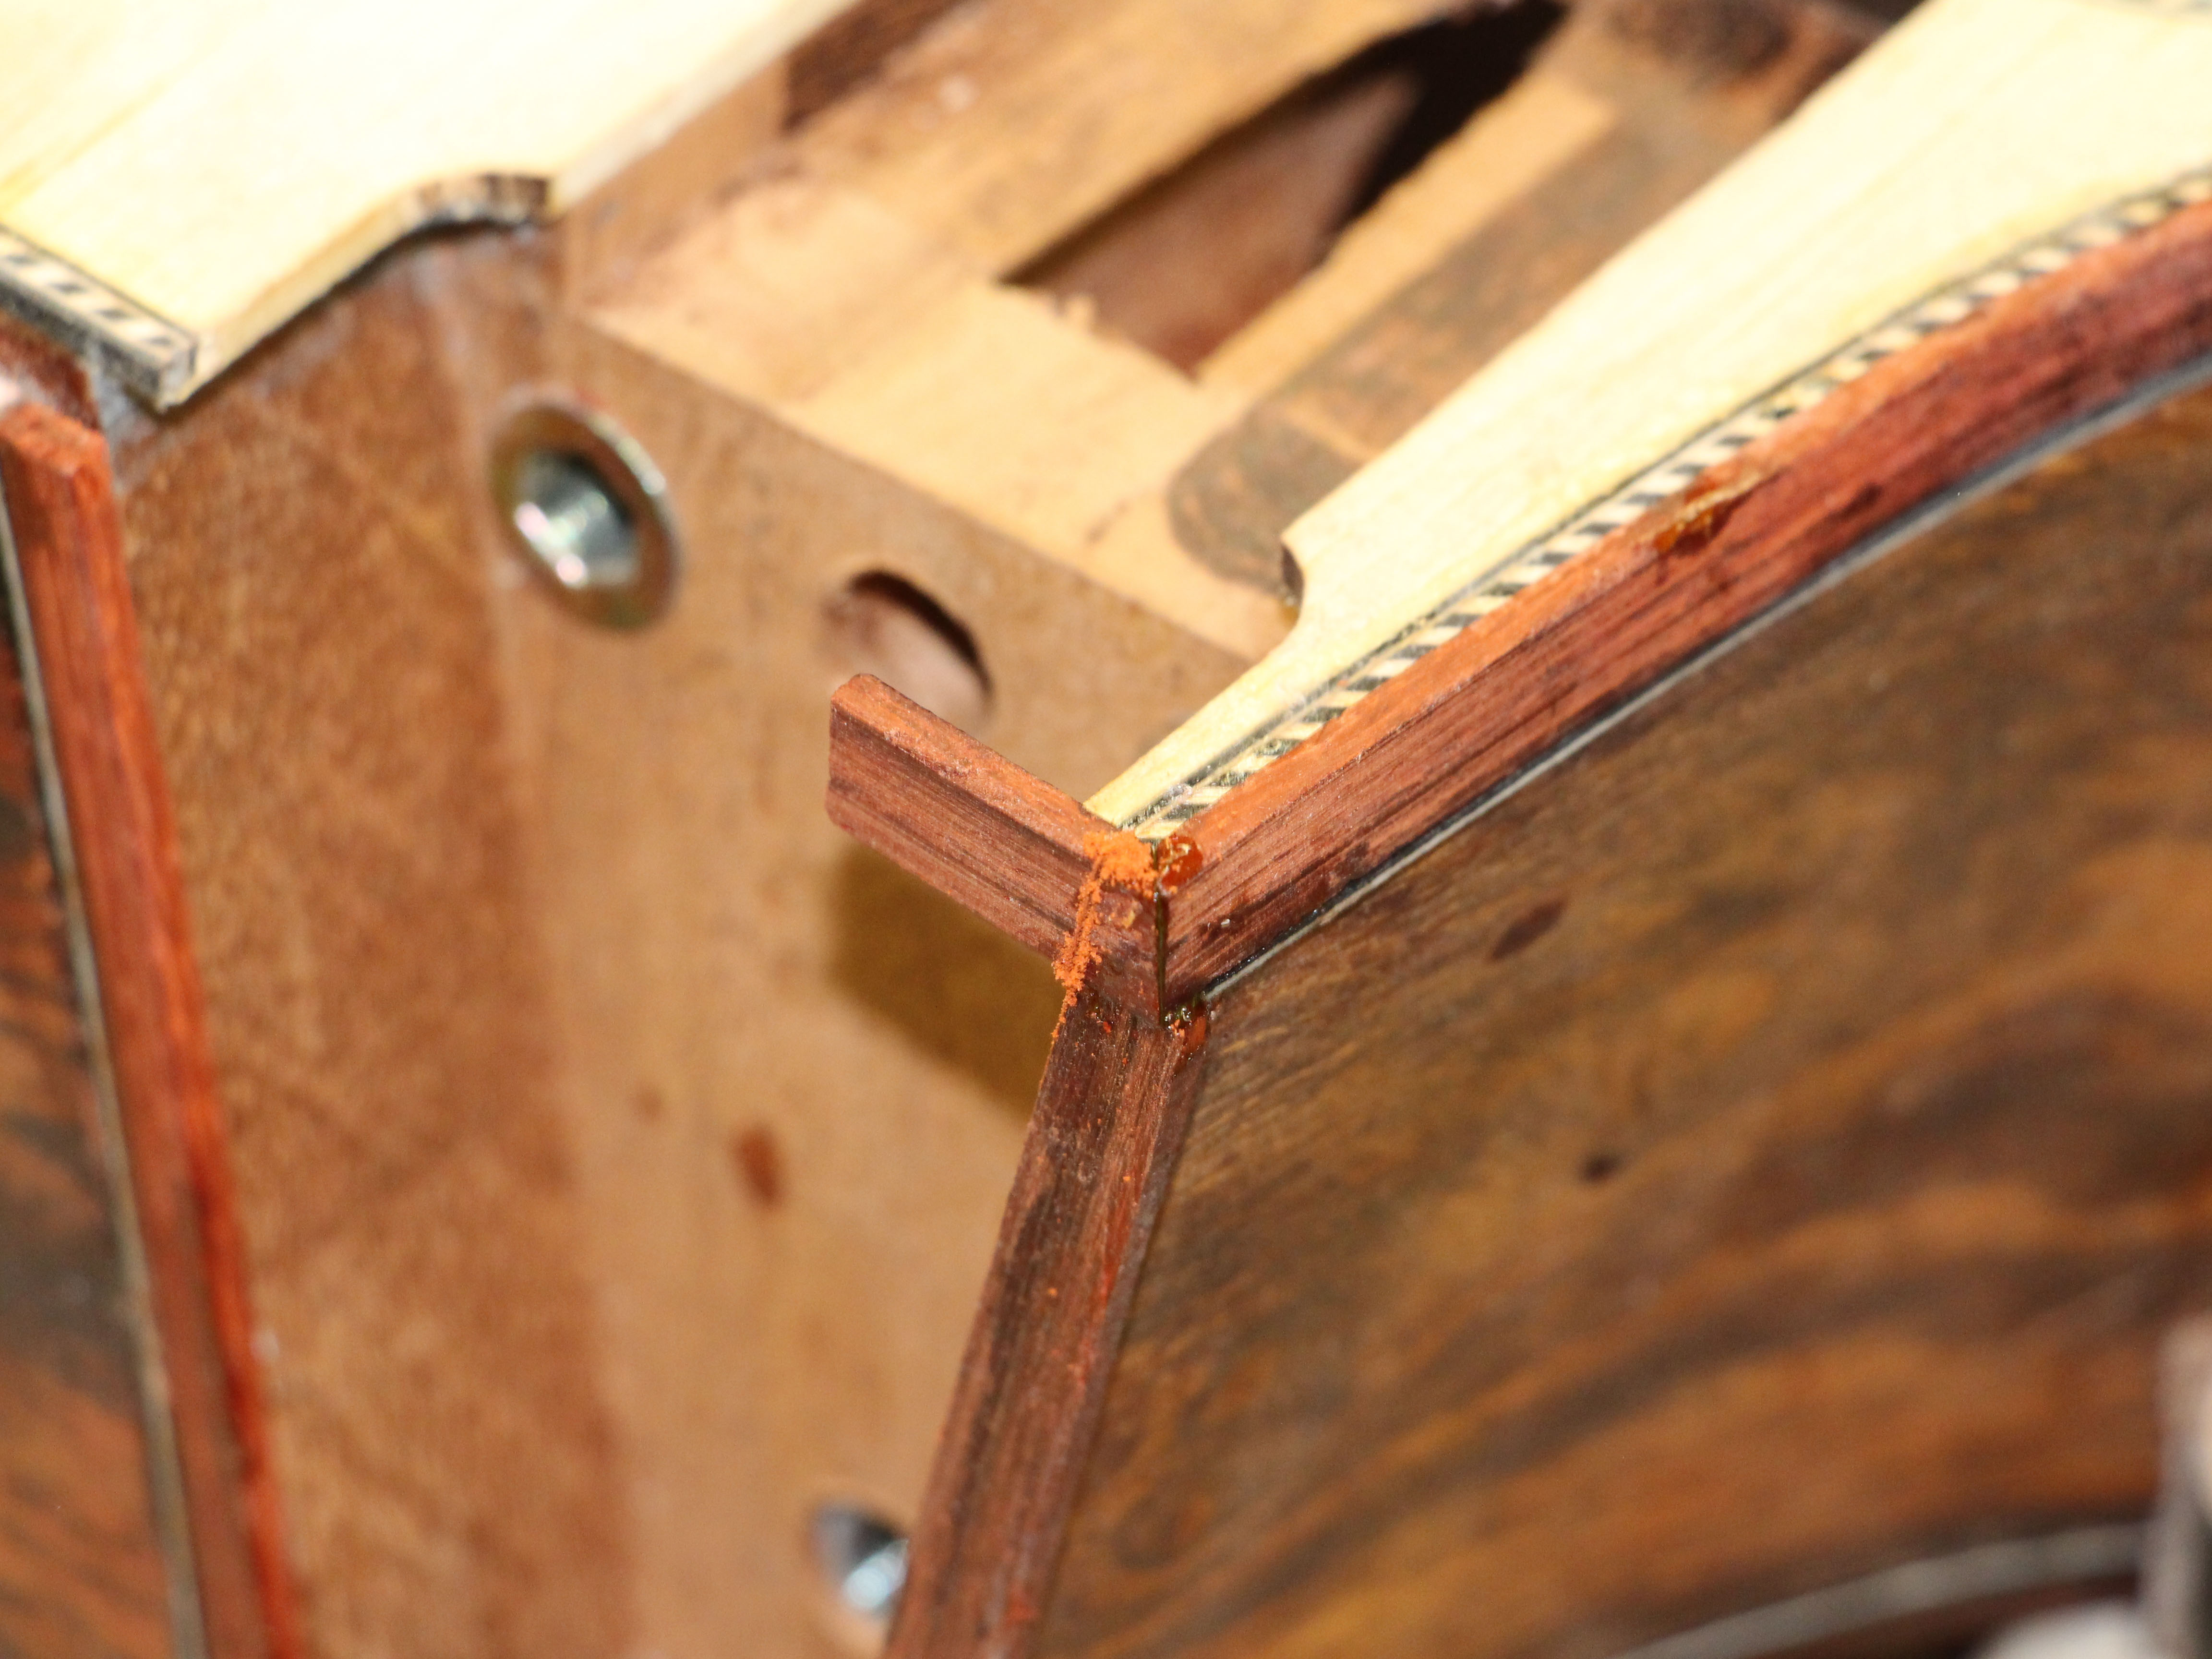
Lots of details with little tiny miter joints.
 ( 390 ) 3-June-2013
Now with the neck back in place I install the heel binding.
 ( 391 ) 3-June-2013
A small saw is used to trim the binding flush with the bottom binding channel.
 ( 392 ) 3-June-2013
I use the bindalator to bend the cutaway binding.
 ( 393 ) 3-June-2013
And it gets installed in the cutaway section.
 ( 394 ) 3-June-2013
More details with little tiny miter joints.
 ( 395 ) 3-June-2013
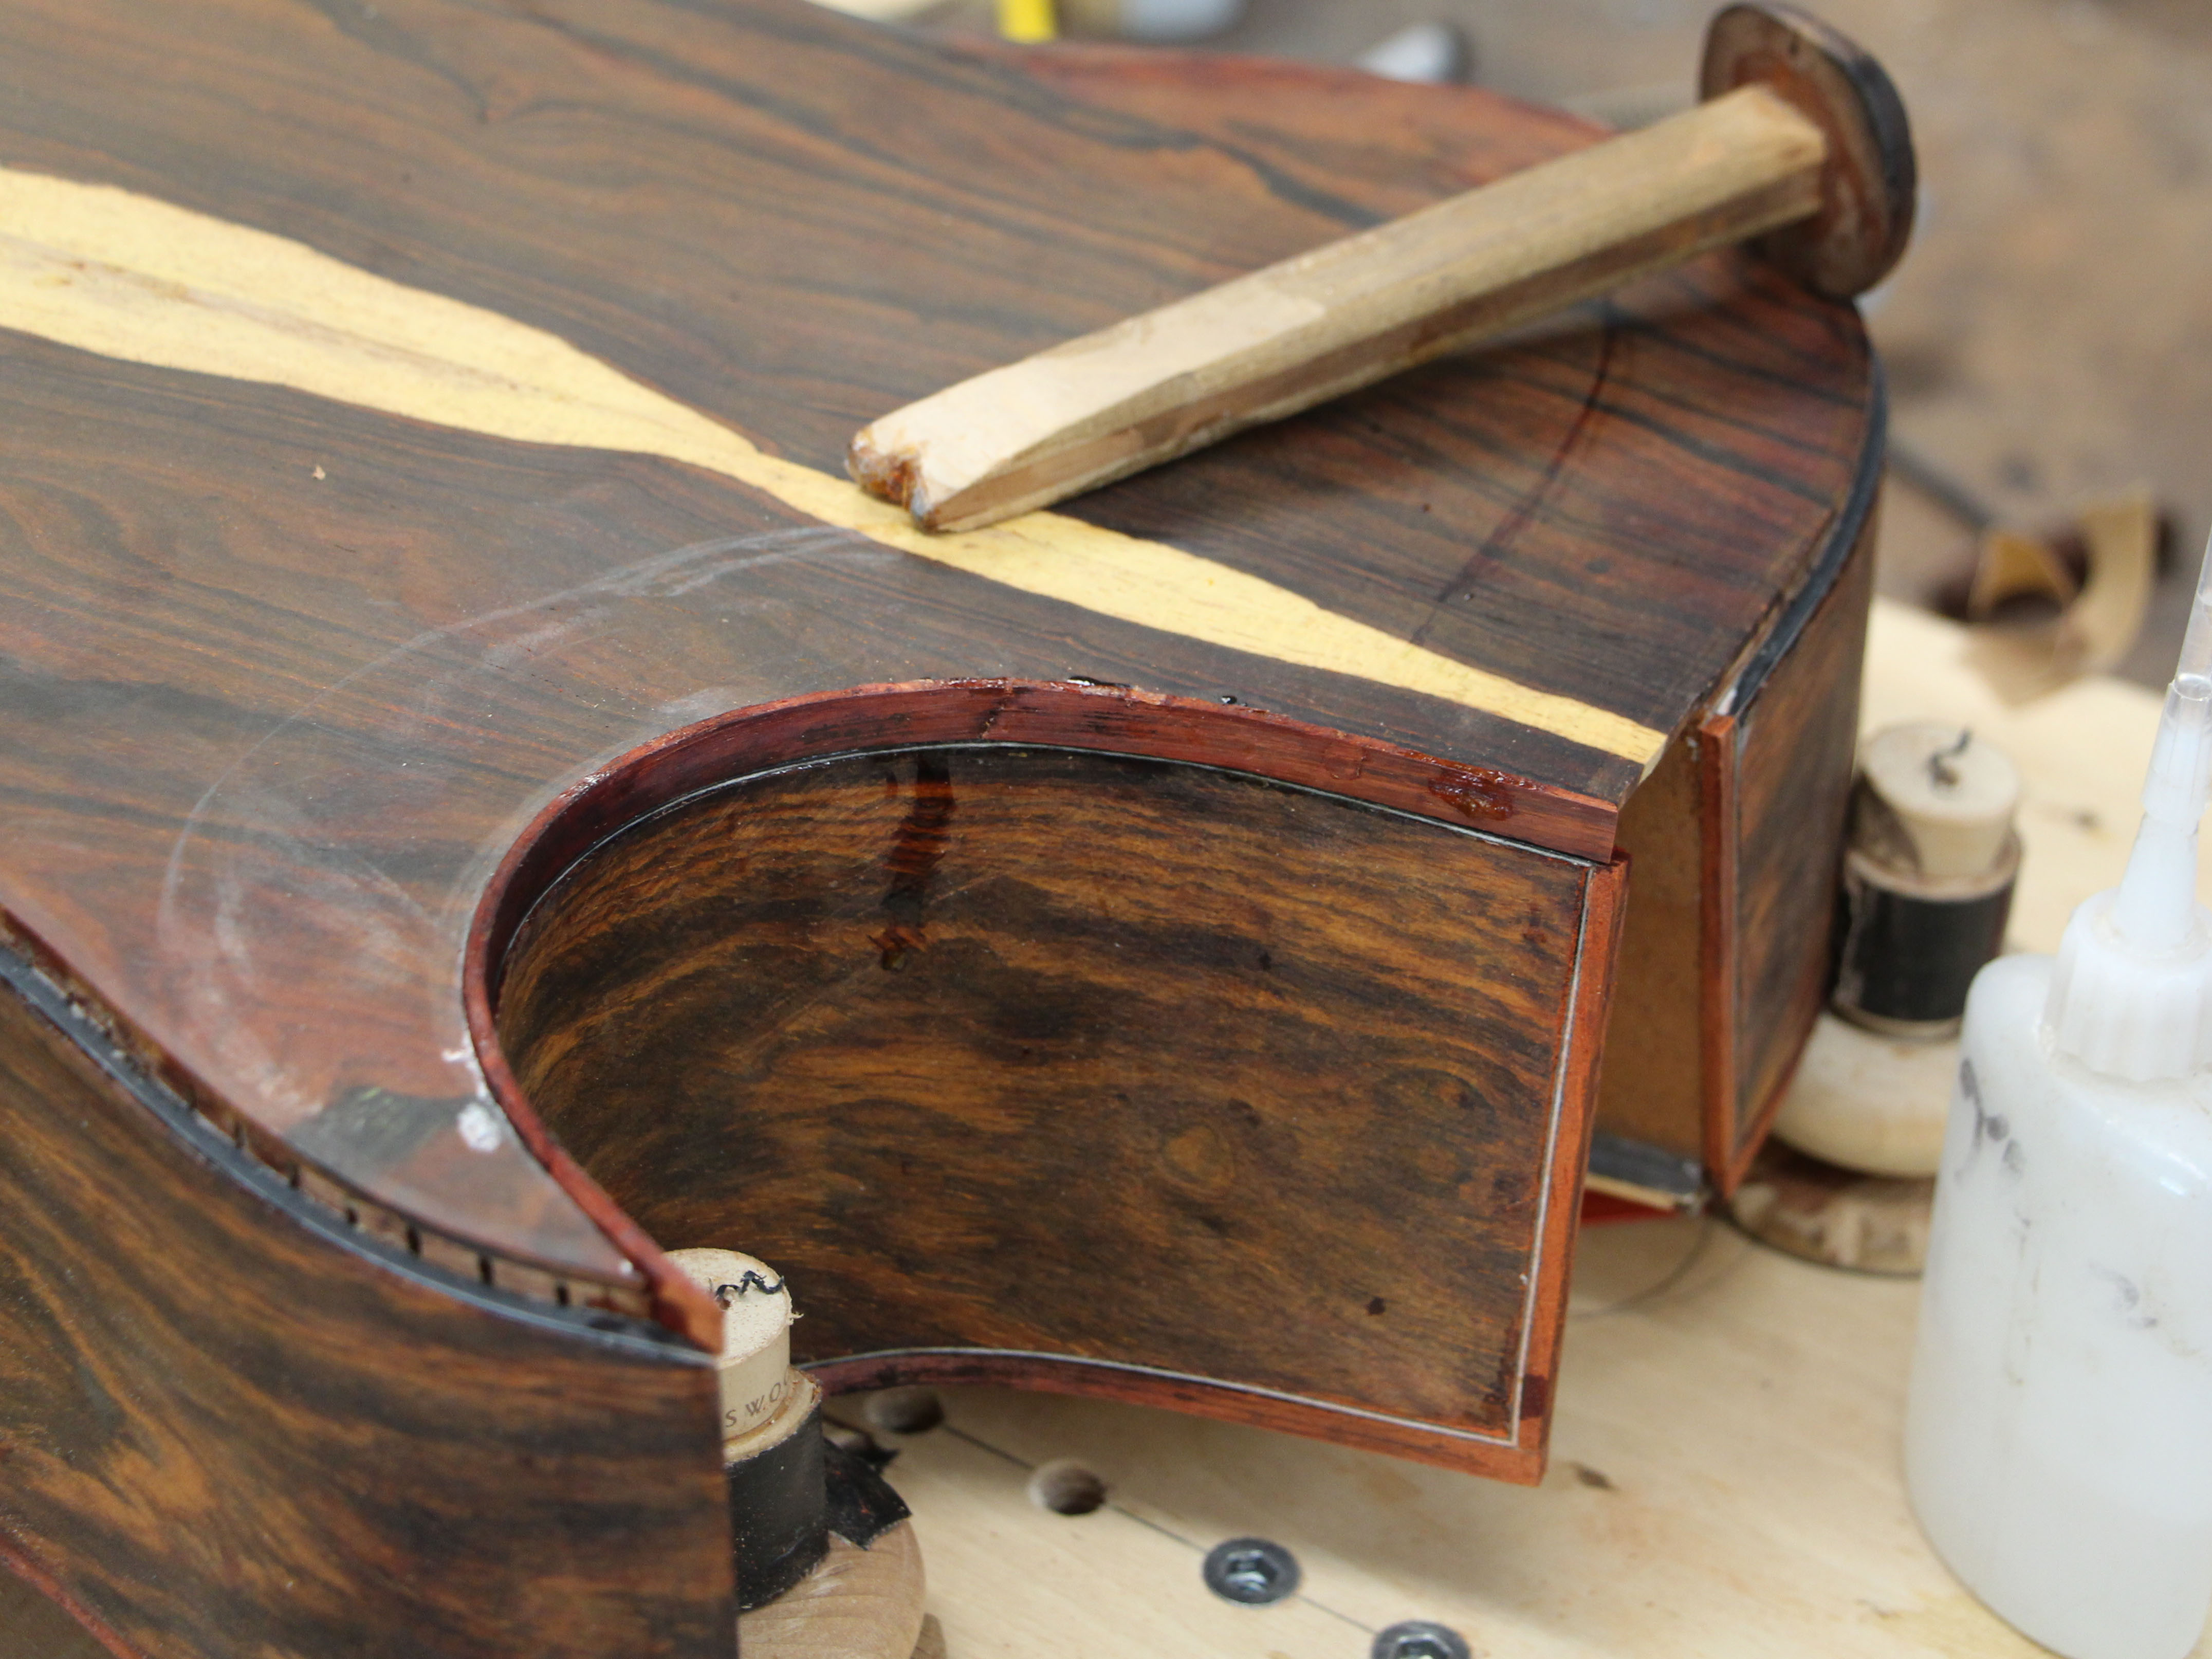
A look at the binding being installed in the cutaway point.
 ( 396 ) 3-June-2013
I carefully trim the end of the binding to end at the midpoint of the guitar.
 ( 397 ) 3-June-2013
And then I install the second half.
 ( 398 ) 3-June-2013
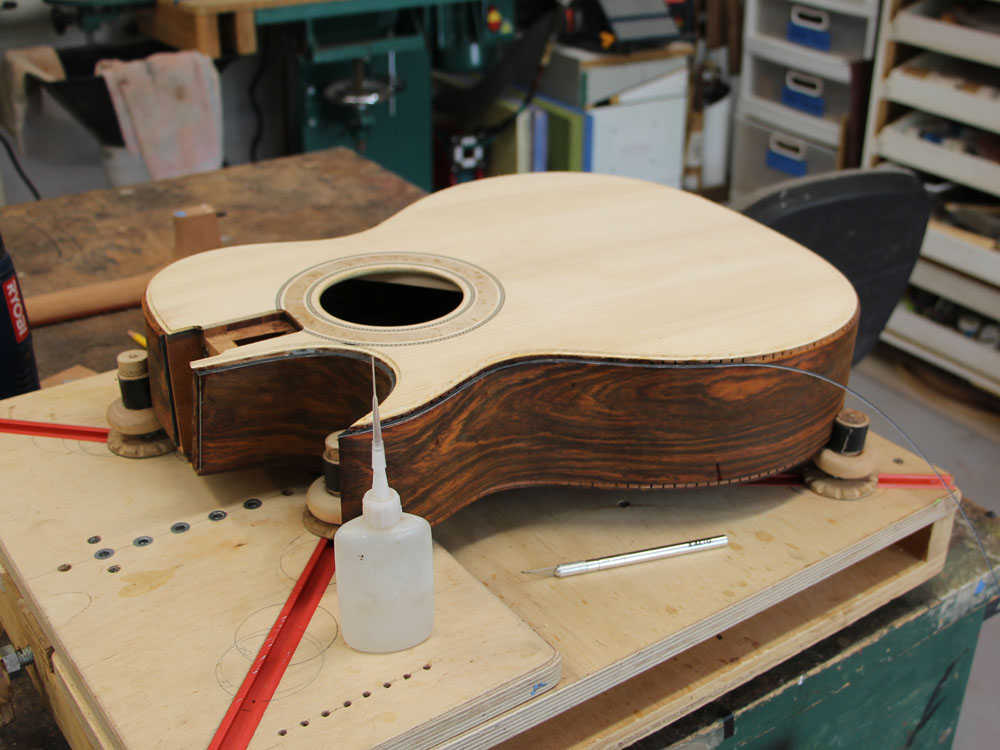
After the binding is installed it stands proud of the top, so I sand everything flush.
 ( 399 ) 3-June-2013
The back gets the same treatment as the top.
 ( 400 ) 3-June-2013
More miter joints.
 ( 401 ) 3-June-2013
And then the back gets sanded flush along with the sides..
 ( 402 ) 3-June-2013
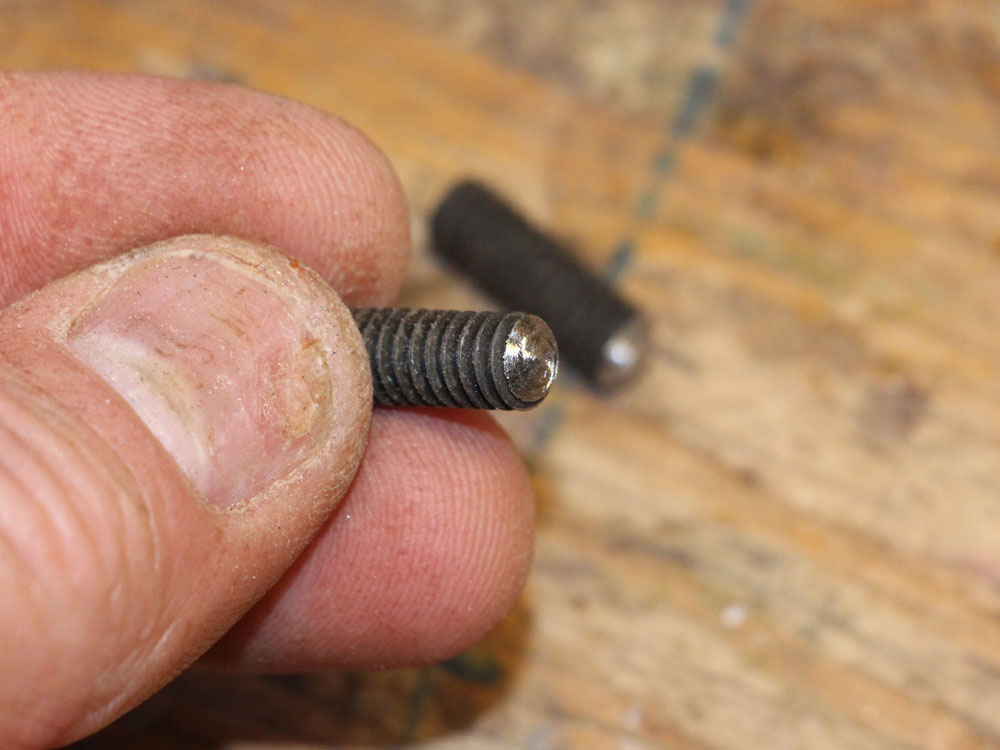
Changing directions a bit, here I am grinding the ends of the neck adjustment set screws into little hemispheres.
 ( 403 ) 3-June-2013
 ( 404 ) 3-June-2013
These set screws will act as the fulcrum around which the neck will rotate as the neck angle is a changed. The set screws let me adjust the yaw of the neck so I can get the strings to run down the middle of the neck. in the picture you can see all of the heel channel hardware.
 ( 405 ) 3-June-2013
I am installing brass plugs in the end of the heel that the set screws will rest on. Here I am drilling the holes.
 ( 406 ) 3-June-2013
The plugs go in a bit proud.
 ( 407 ) 3-June-2013
And I sand them flush.
 ( 408 ) 3-June-2013
Changing directions again, I am working on the tuning machine purfling. Here I am drilling out the tuning machine disks.
 ( 409 ) 3-June-2013
The disks are counter sunk.
 ( 410 ) 3-June-2013
And I drill the headstock to accept the disks.
 ( 411 ) 3-June-2013
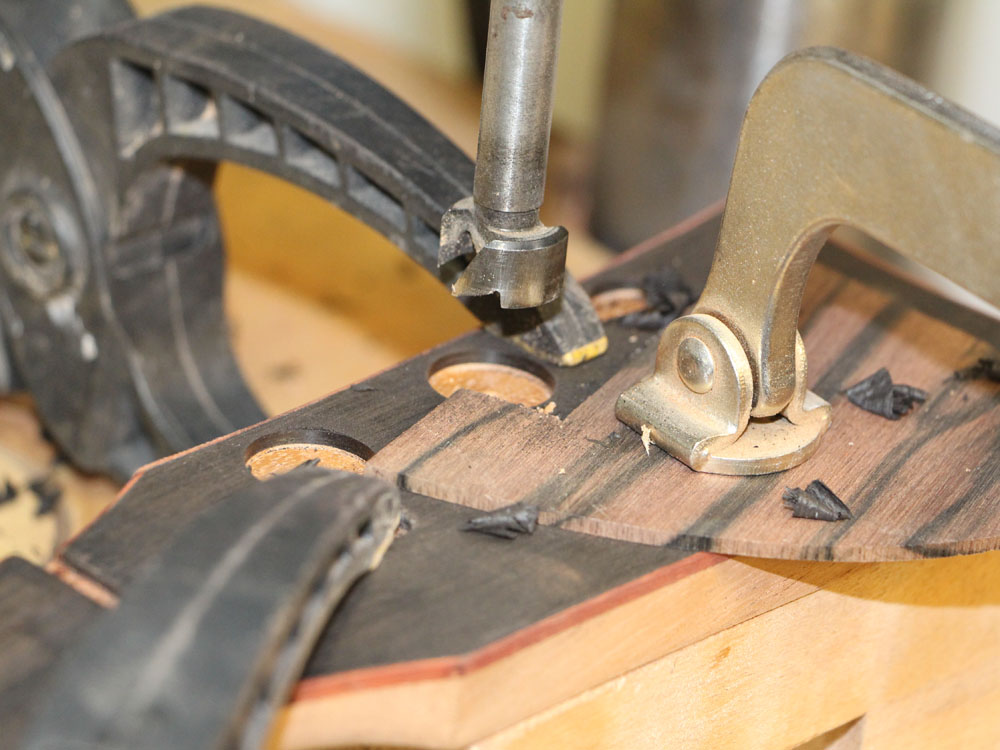
I clamp everything down as I am drilling the holes to make sure they are properly aligned.
 ( 412 ) 3-June-2013
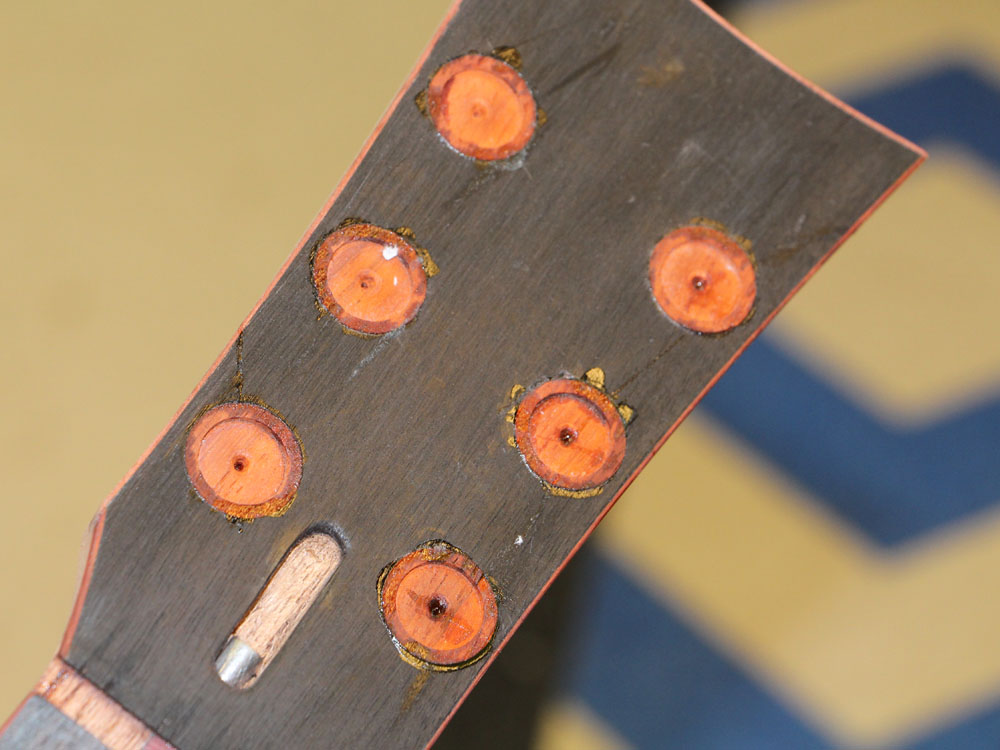
When the disks are glued in they stand proud (of course).
 ( 413 ) 3-June-2013
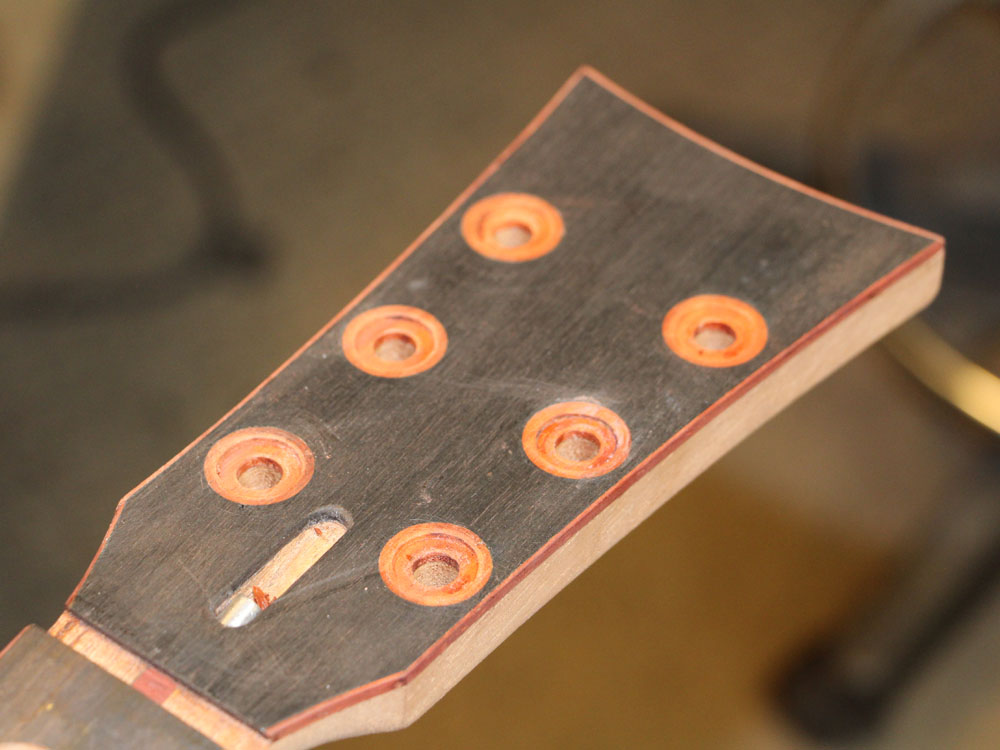
When they are sanded flush they look much better.
 ( 414 ) 3-June-2013
Now I have to drill the hole through the headstock.
 ( 415 ) 3-June-2013
 ( 416 ) 3-June-2013
And then I get to install the tuning machines for a look see.
 ( 417 ) 3-June-2013
Next I am going to install the heel cap. To get the angle and depth just right I use this special sanding tool. The sanding block sits on a rosewood plate. As the plate slides back and forth along the back of the guitar the sanding block works on the end of the heel.
 ( 418 ) 3-June-2013
The result.
 ( 419 ) 3-June-2013
And then I install the heel cap.
 ( 420 ) 3-June-2013
A look at the guitar with the neck attached.